Displaying items by tag: ibm
Join us for our upcoming webinar, featuring Adrian Pitonak and Jan Jancar from Softacus, as they delve into the topic of "IBM DNG Export/Import.
Event Details:
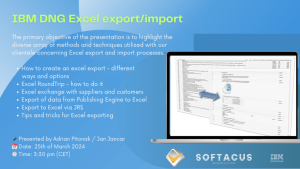
Date: 25th of March 2024
Time: 3:30 pm CET
Location: Zoom
Link for registration: https://zoom.us/j/93121909731?pwd=dXRWb3gxUXhMUFFJdnpLYlNHSTFLdz09
Agenda Highlights:
The primary objective of the presentation is to highlight the diverse array of methods and techniques utilized with our clientele concerning Excel export and import processes.
- How to create an excel export - different ways and options
- Excel RoundTrip - how to do it
- Excel exchange with suppliers and customers
- Export of data from Publishing Engine to Excel
- Export to Excel via JRS
- Tips and tricks for Excel exporting
This event is tailored for professionals and users of Doors Classic and DOORS Next Generation (DNG), whether you hold the title of or have a keen interest in Excel export and import processes.

In today's fast-paced technological landscape, traditional engineering approaches are being outpaced by rapid advancements. This shift has led to increased demand for intelligent software-driven products across diverse industries, presenting challenges such as budgetary constraints, time limitations, resource scarcity, and stringent safety and quality standards.
Addressing these challenges requires integrated solutions that bridge functional, software, mechanical, and electrical engineering domains, providing a unified source of truth. IBM Engineering Lifecycle Management (ELM) is designed to mitigate integration failures and delivery delays, accommodate product line variability, and ensure comprehensive lifecycle visibility.
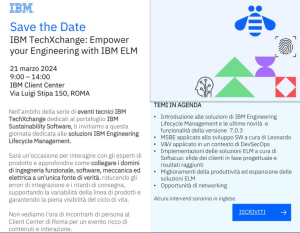
Join us at IBM TechXchange: Empower your Engineering with IBM ELM in Rome, Italy, on 21st March, 2024 to:
- Explore the latest iteration of IBM ELM, version 7.0.3, which builds upon years of industry leadership to deliver enhanced capabilities and efficiencies.
- Discover how these advancements empower engineering professionals to effectively manage complex systems and software development projects, meeting deadlines and exceeding expectations.
Our Solution Director, Jan Jancar, will present use cases of implementations of ELM, including challenges which often happens during the implementation.
Register here
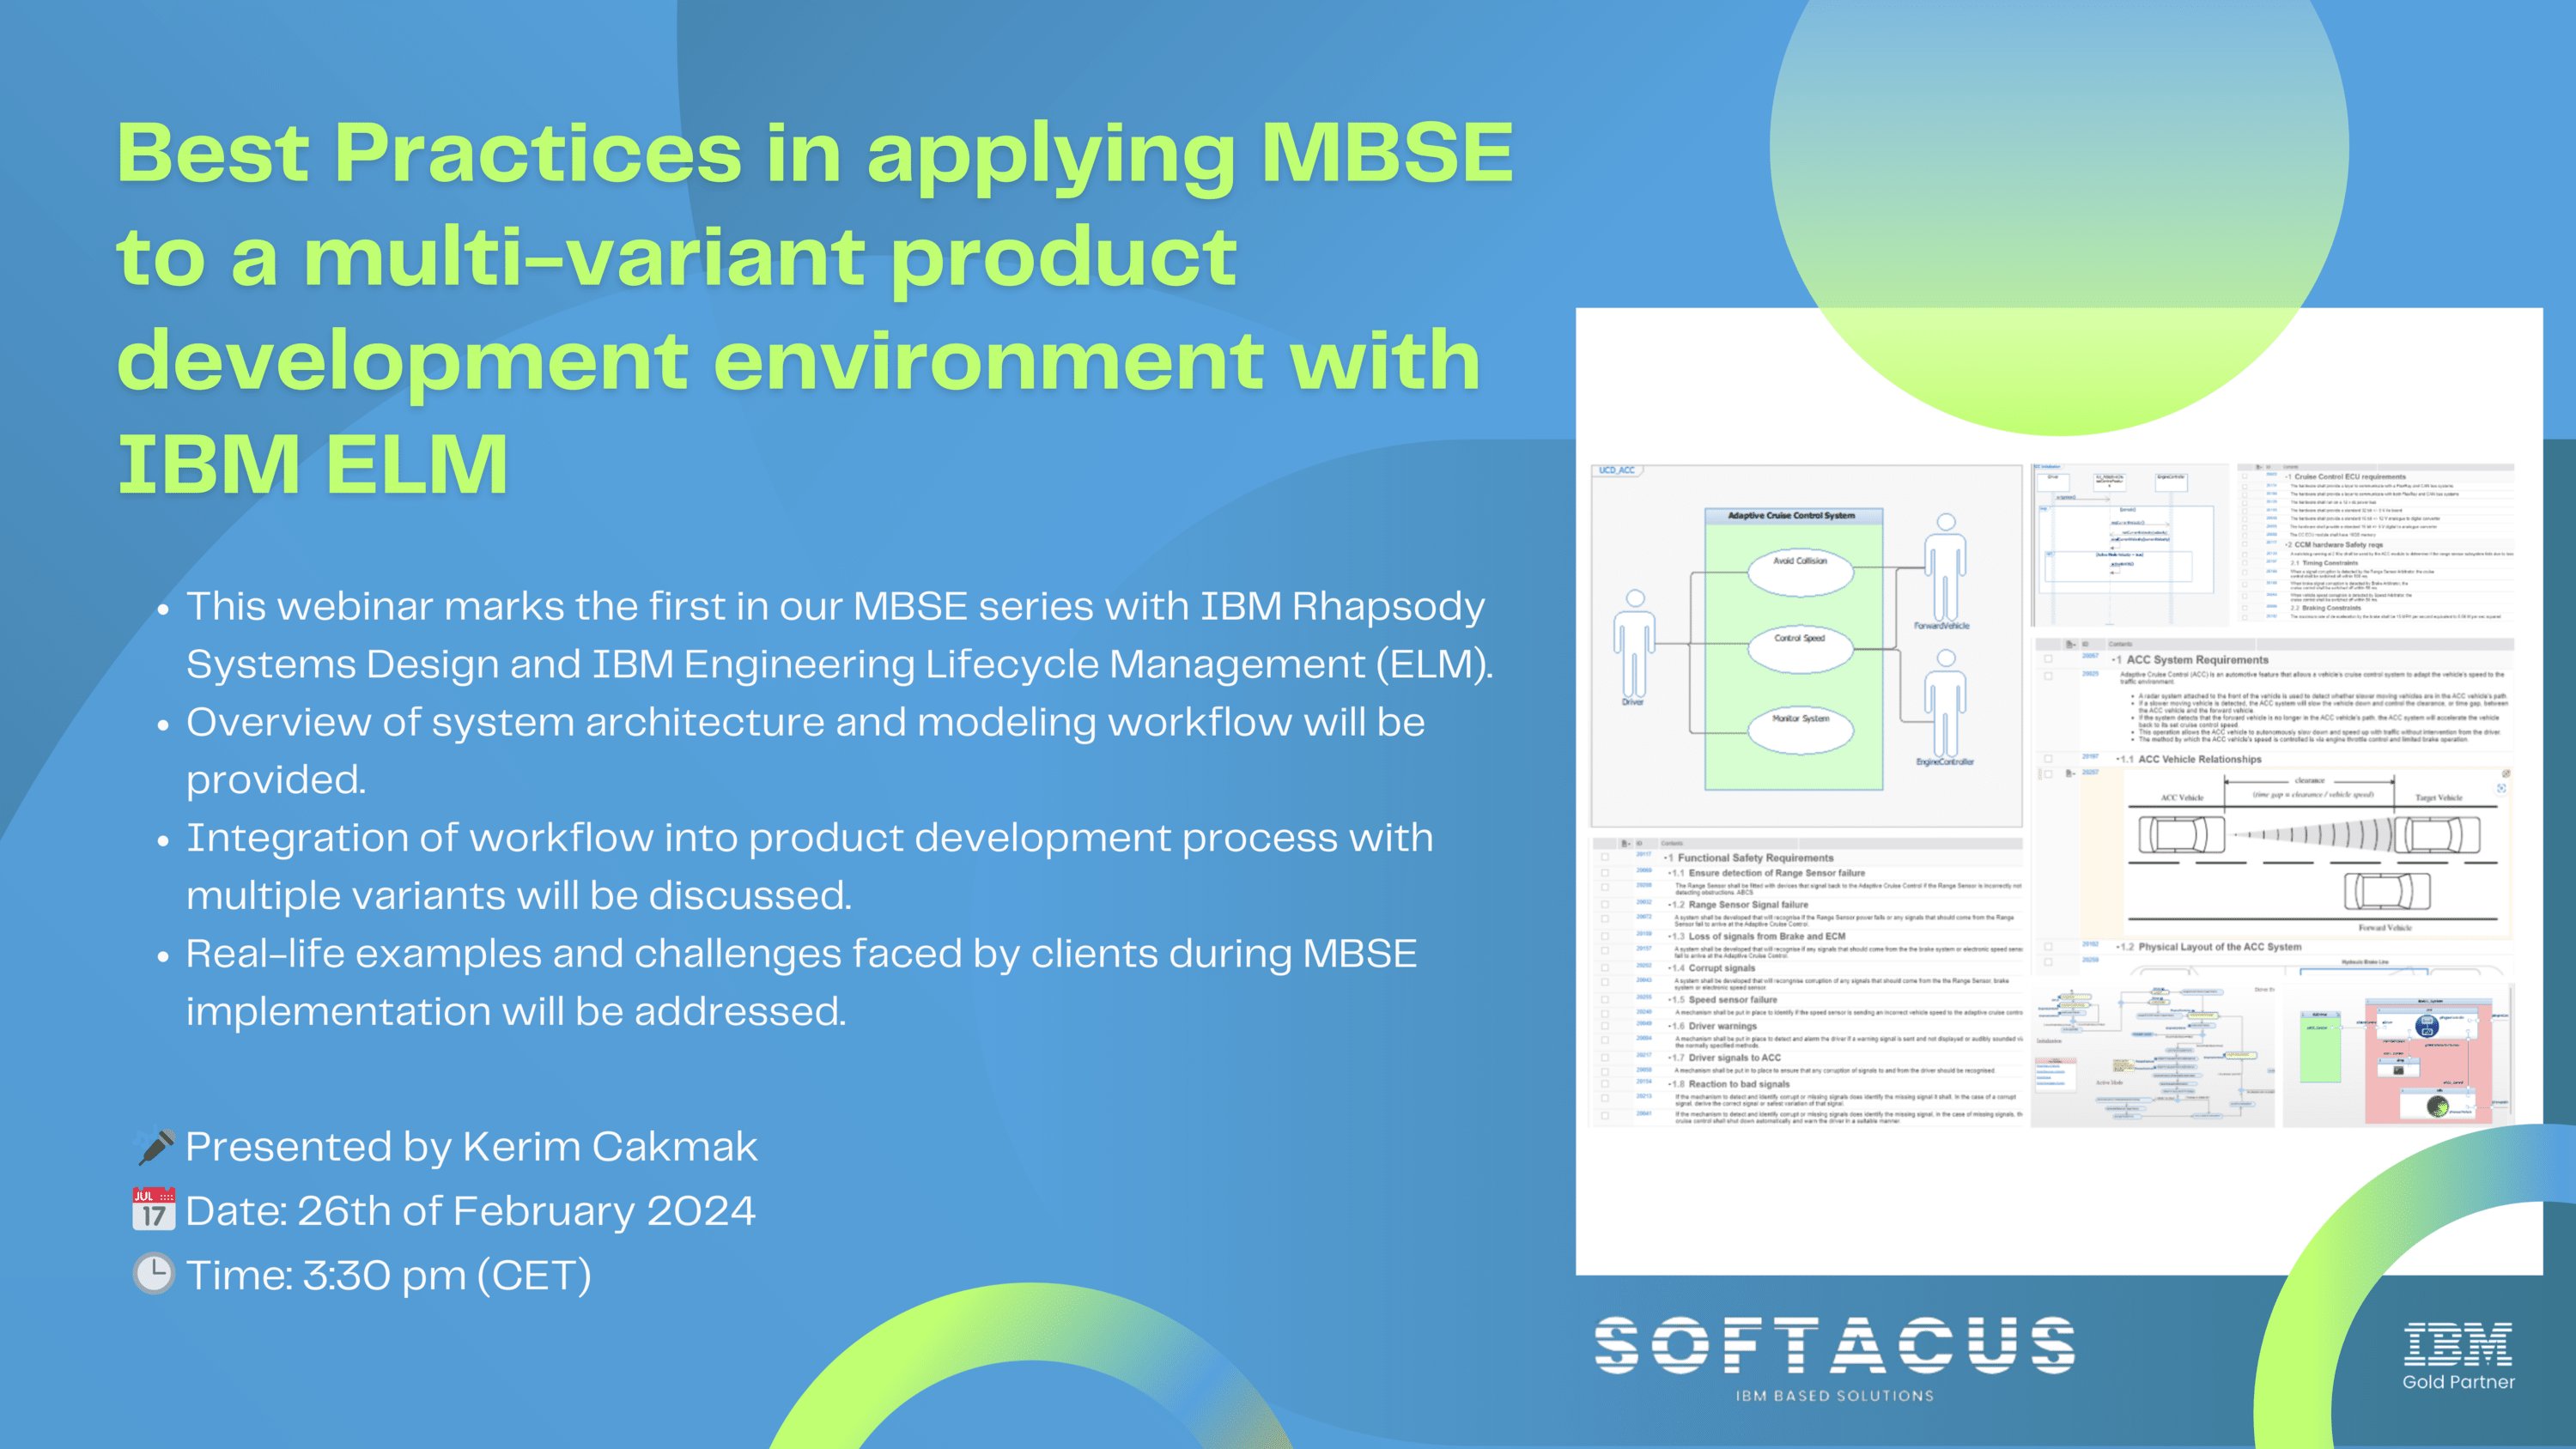
Join us for our upcoming webinar series on Model Based Systems Engineering (MBSE) with IBM Rhapsody Systems Design and IBM Engineering Lifecycle Management (ELM)!
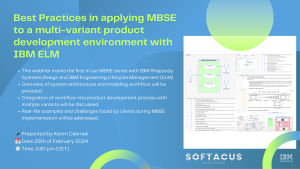
1st webinar of the series is on the topic: Best Practices in applying MBSE to a multi-variant product development environment with IBM ELM
Date: 26.02.2024
Time: 3:30 pm CET
In this inaugural webinar, we'll provide an insightful overview of applying MBSE to a multi-variant product development environment. Our experts will share best practices and real-life examples, focusing on system architecture and modeling workflows.
Benefits of joining the webinar:
- Gain valuable insights into implementing MBSE in a multi-variant product development environment
- Learn best practices from real-life examples and industry experts
- Discover how MBSE integrates seamlessly into the product development process, enhancing efficiency and productivity
This session will lay the groundwork for future deep dive sessions in our webinar series.
Don't miss out on this opportunity to enhance your understanding of MBSE and its application with IBM Rhapsody Systems Design and IBM ELM. Register now to secure your spot!
Sign up now: https://us02web.zoom.us/meeting/register/tZwkdOqppzsiHNfZHaSN-dTVYIR19Q4ns1hM
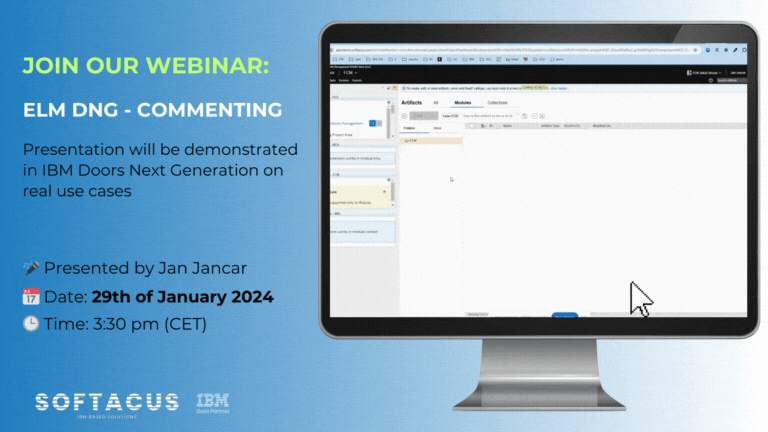
We are excited to invite you to our upcoming webinar on the topic of "Commenting Options in IBM DOORS NG."
Date: January 29, 2024
Time: 3:30 - 4:30 pm CEST
Sing up now under this link
During the webinar, we will explore essential aspects of commenting in IBM DOORS NG, including:
- Effectively using comments
- Reviewing comments
- Collaborating with internal and external stakeholders
- Techniques for exchanging comments with end customers who do not have direct access
Our Solution Director, Jan Jancar, will introduce valuable techniques, such as:
- Reviewing comments efficiently
- Commenting on base and module artifacts
- Finding comments using both out-of-the-box and attribute-based techniques
This webinar is designed to enhance your understanding of the commenting functionalities within IBM DOORS NG, providing valuable insights that can optimize your workflow.
Save your spot by registering here. After registration, you will receive a confirmation email with the webinar access details.
Feel free to invite your colleagues who might find this topic relevant.
We are looking forward to seeing you at the event!

This is the premier, technical learning event designed with technologists for technologists who use IBM products and solutions. It offers over a thousand technical breakout sessions, hands-on experiences, product demonstrations, instructor-led labs, and certifications tailored to your interests and learning style.
Softacus is excited to be part of the upcoming conference. On January 23, our Solution Director, Jan Jancar, will be delivering a presentation on "Reuse Techniques in IBM DOORS Next Generations/IBM ELM."
Learn more about the event here.
We look forward to sharing insights and engaging with the conference attendees.
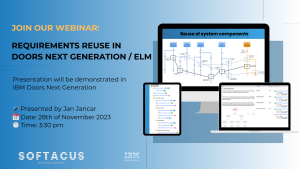
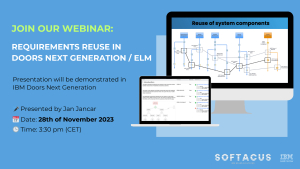
We're thrilled to announce our upcoming webinar Requirements Reuse in DOORS Next Generation / ELM.


Softacus provides a training program on the Automotive Compliance Process which is released with the IBM Engineering Lifecycle Management Solution.
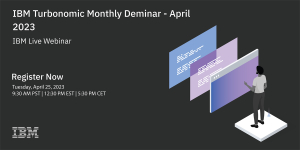
Apr 25, 2023 from 12:30 PM to 01:00 PM (ET)
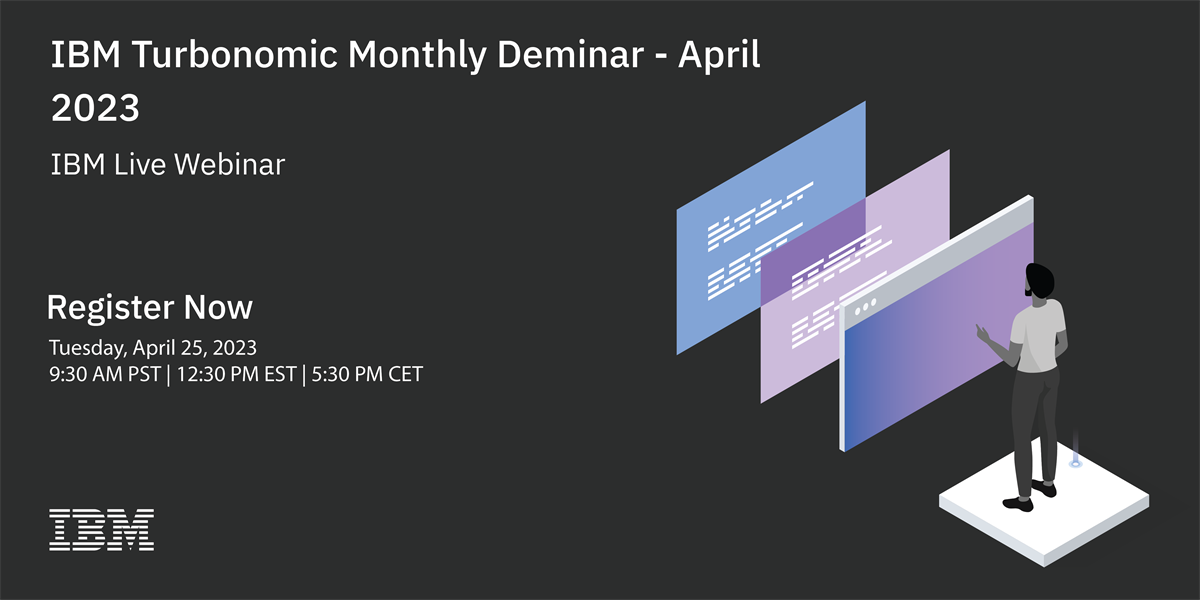
Want to learn more about IBM Turbonomic hybrid cloud cost optimization features, capabilities, and use cases in a quick, no-pressure setting? Join the Turbonomic Monthly Deminar for an informative 15-minute demo followed by Q&A. We'll over an overview of the Turbonomic platform, walkthrough of the UI, and use cases including cloud cost optimization, cloud migration planning, on-prem virtualization optimization, and more.
- Get a detailed overview of Turbonomic from a Turbonomic expert
- Learn how Turbonomic uniquely automates decisions to minimize cloud costs while assuring application performance
- Ask our expert questions about Turbonomic
Key Speakers